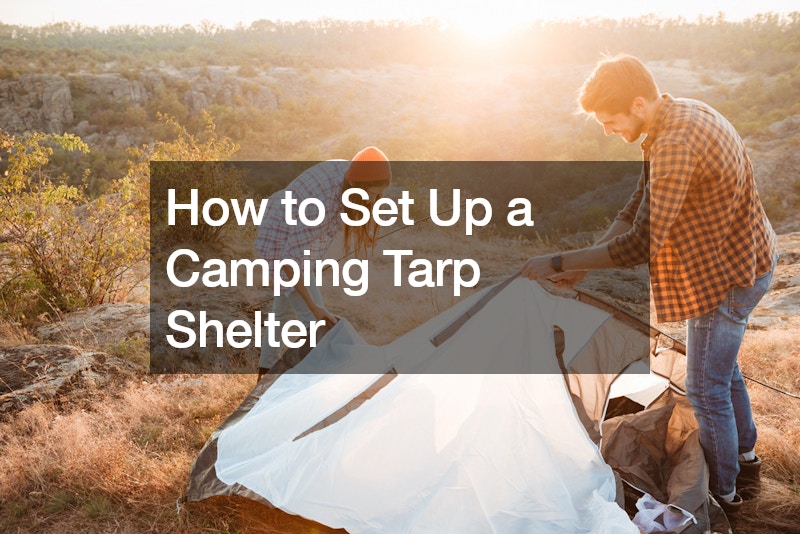
Setting up a camping tarp shelter can provide essential protection from the elements during outdoor adventures. Firstly, choose a suitable location for your tarp shelter, ensuring it is flat, free from debris, and large enough to accommodate your group. Next, gather the necessary materials, including a tarp, guylines, stakes, and trekking poles or trees to anchor the shelter.
To begin setup, lay out the tarp on the ground and determine the desired orientation and shape of your shelter.
Secure one corner of the tarp to a fixed anchor point, such as a tree or trekking pole, using a guyline and stake. Then, pull the opposite corner of the tarp taut and secure it to another anchor point using another guyline and stake.
Continue this process for the remaining corners of the tarp, adjusting the tension of the guylines as needed to ensure a tight and secure pitch. Optionally, add additional guylines along the sides of the tarp to provide extra stability in windy conditions. Once the tarp shelter is erected, consider adding additional features such as a groundsheet or bivy sack for added protection from moisture and insects. Finally, test the stability and integrity of the shelter by gently tugging on the guylines and making any necessary adjustments to ensure a snug and secure setup.


